In this article, I will show you how I got a locked laptop from eBay and restored it. Let’s start with the basics. I bought an HP zBook Firefly 14 G7 with an Intel core I7-10810U, 32GB of RAM, and a Nvidia Quadro P520. It is a relatively powerful laptop, but it has one major issue, and that is the lock.
For context, there was a power-on lock that was enabled on my laptop. A power-on lock is where an administrator can set a password that is needed for the computer to entire BIOS settings or even an operating system. A power-on lock may not be the only type that can be enabled, as there are BIOS locks and hard drive locks. A BIOS lock prevents the user from accessing the BIOS settings without a password and is relatively harmless if the BIOS settings allow whatever you need on the laptop. A hard drive lock prevents the user from accessing or booting into a hard drive without a password. Since my computer had a power-on password, I had to remove it so I could even boot into the BIOS settings.
There are multiple options as to how I can mitigate the issue. One of them is to try to guess the password. Although there are only 3 attempts to enter the password every time you turn it on, there are some common passwords that can be used. This method did not work, so my next choice was to use a website called BiosBug. Essentially, if you enter the password wrong many times, the laptop will generate a hash this website can use to generate a master password. Unfortunately, that method did not work because it is meant for older laptops. My only option was to make physical changes to the BIOS chip.
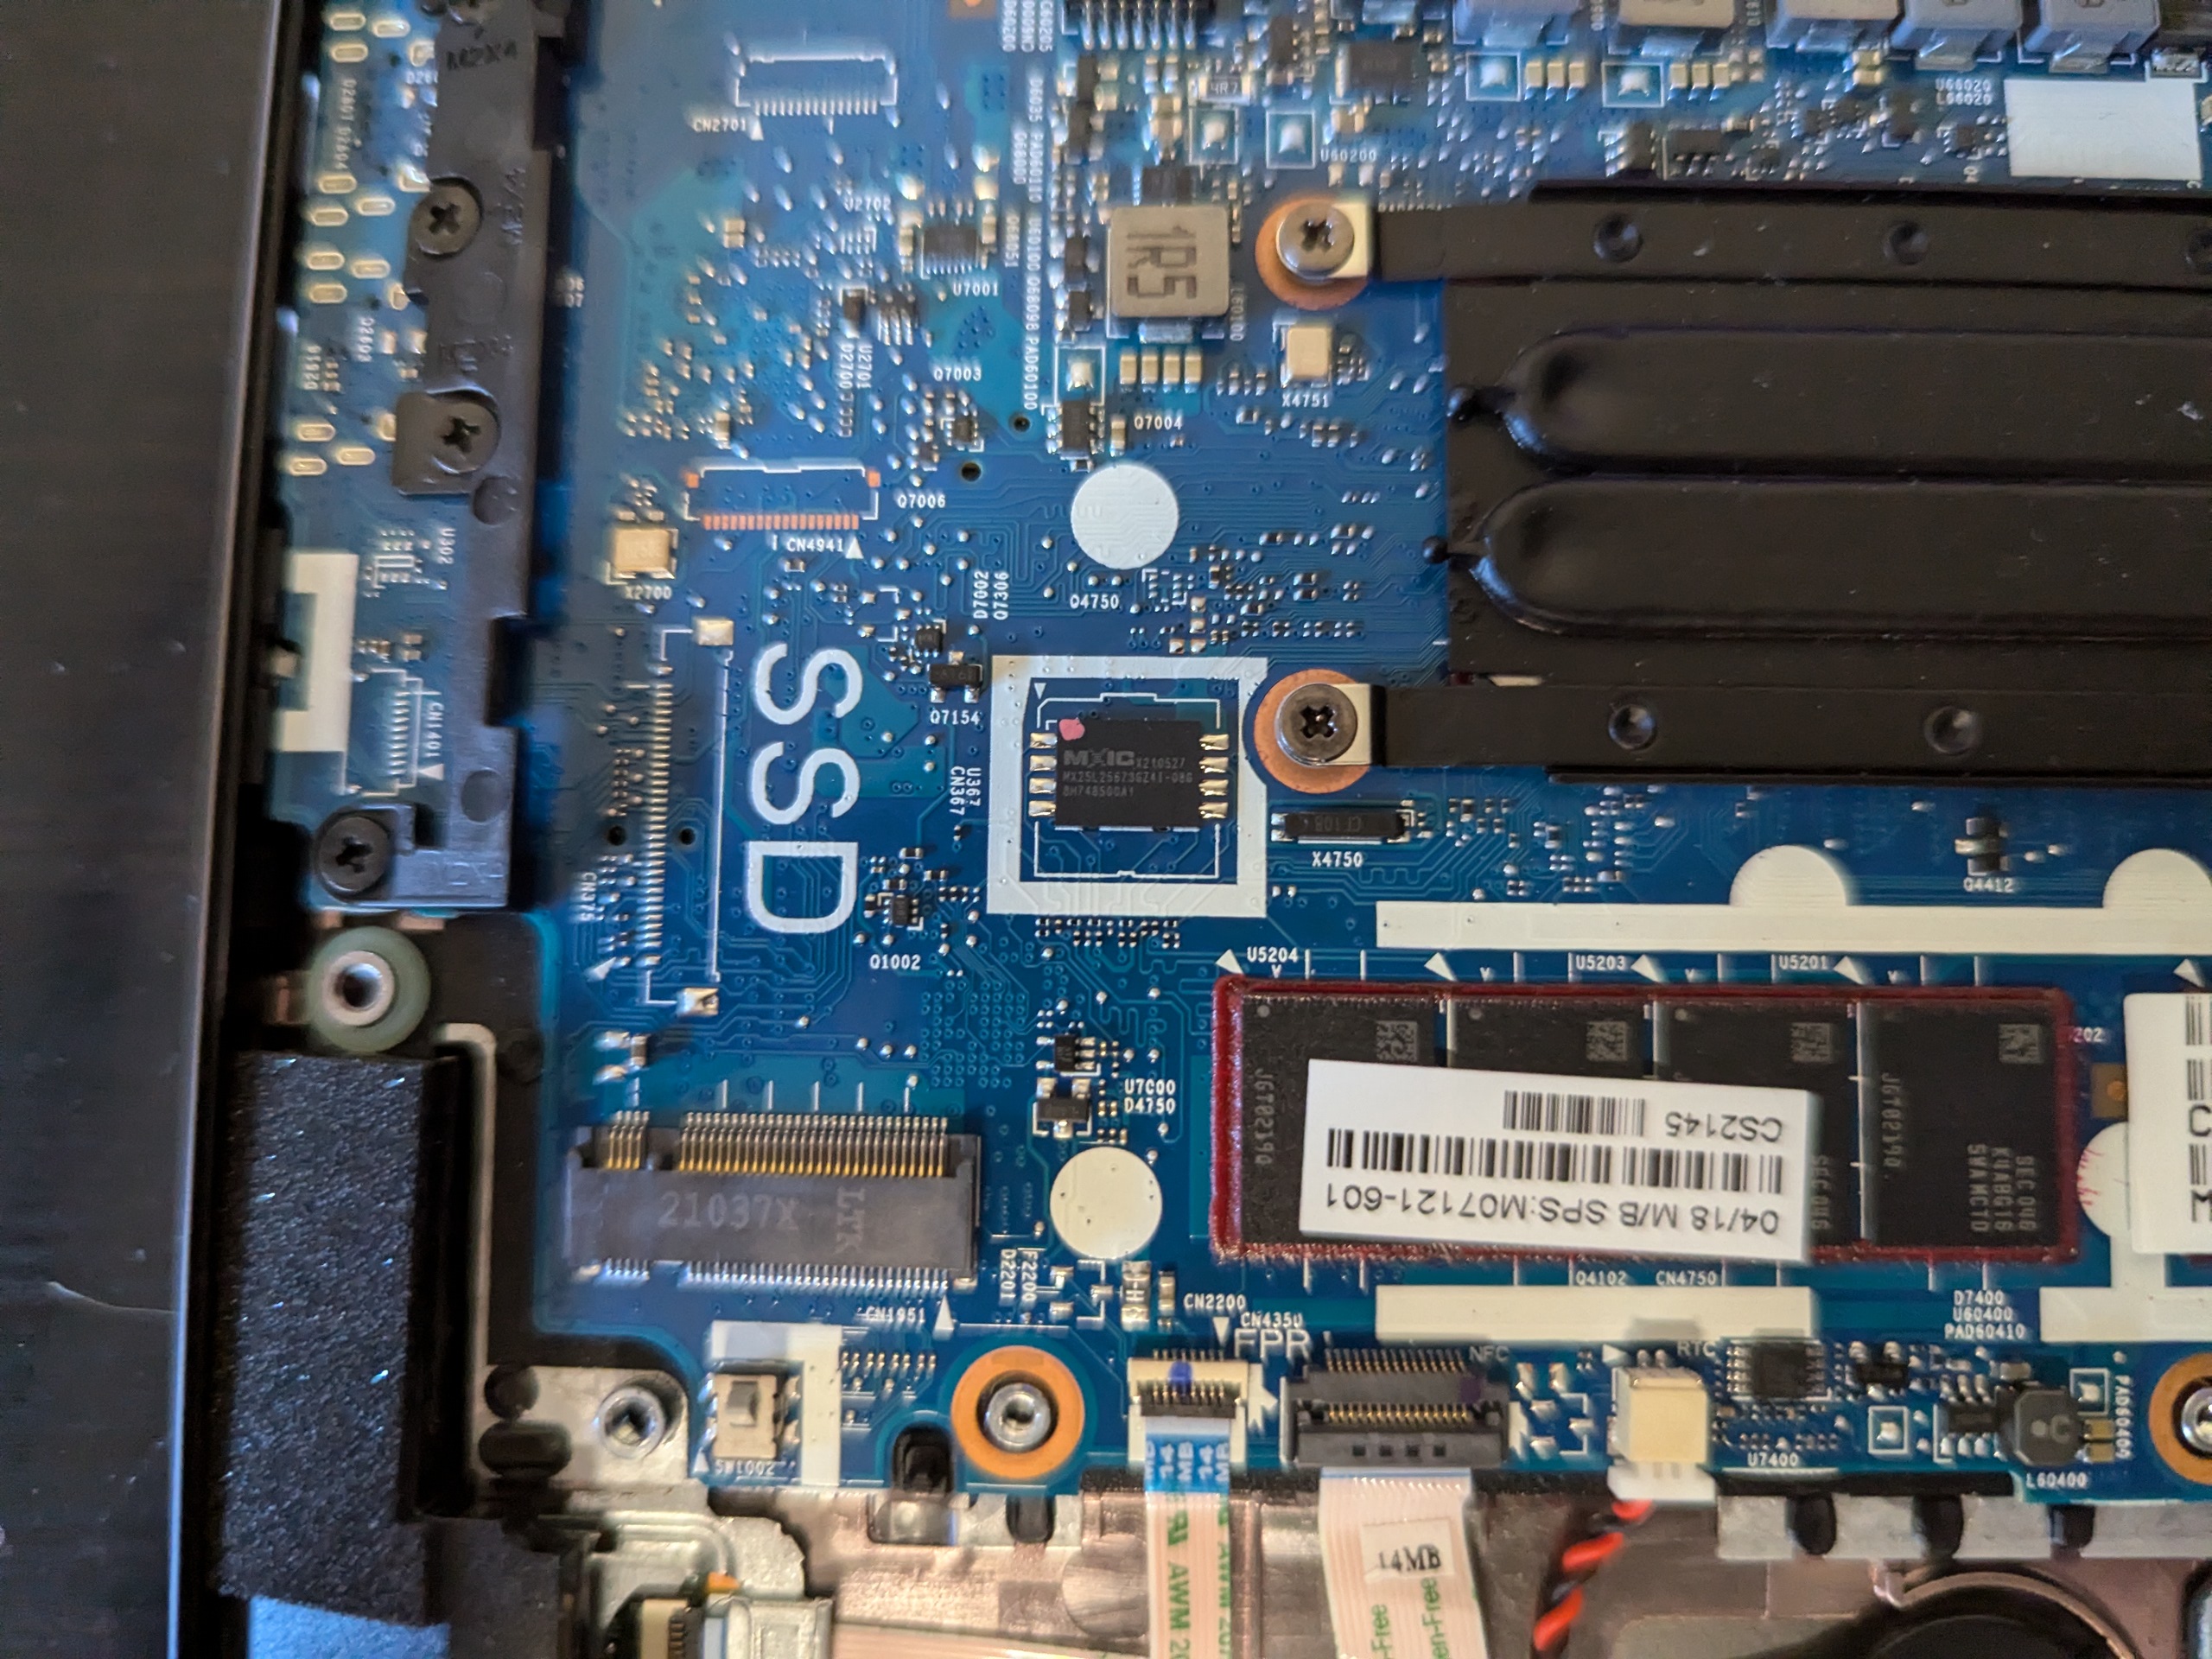
To make those changes, I would need to unsolder a specific chip from the motherboard of the laptop. At the time, I was not too keen about unsoldering the chip, but I eventually decided to just bear with my uncertainty. For how I would remove the lock, there were many ways. One of them was to buy a new BIOS chip altogether, but I did not do this as it would take almost a month to arrive, and it was nearly $50. My second choice was to buy a programmer, extract the contents (or binary) of the chip, and pay someone to modify it. With the modified binary, I can easily reflash the chip and solder it back.
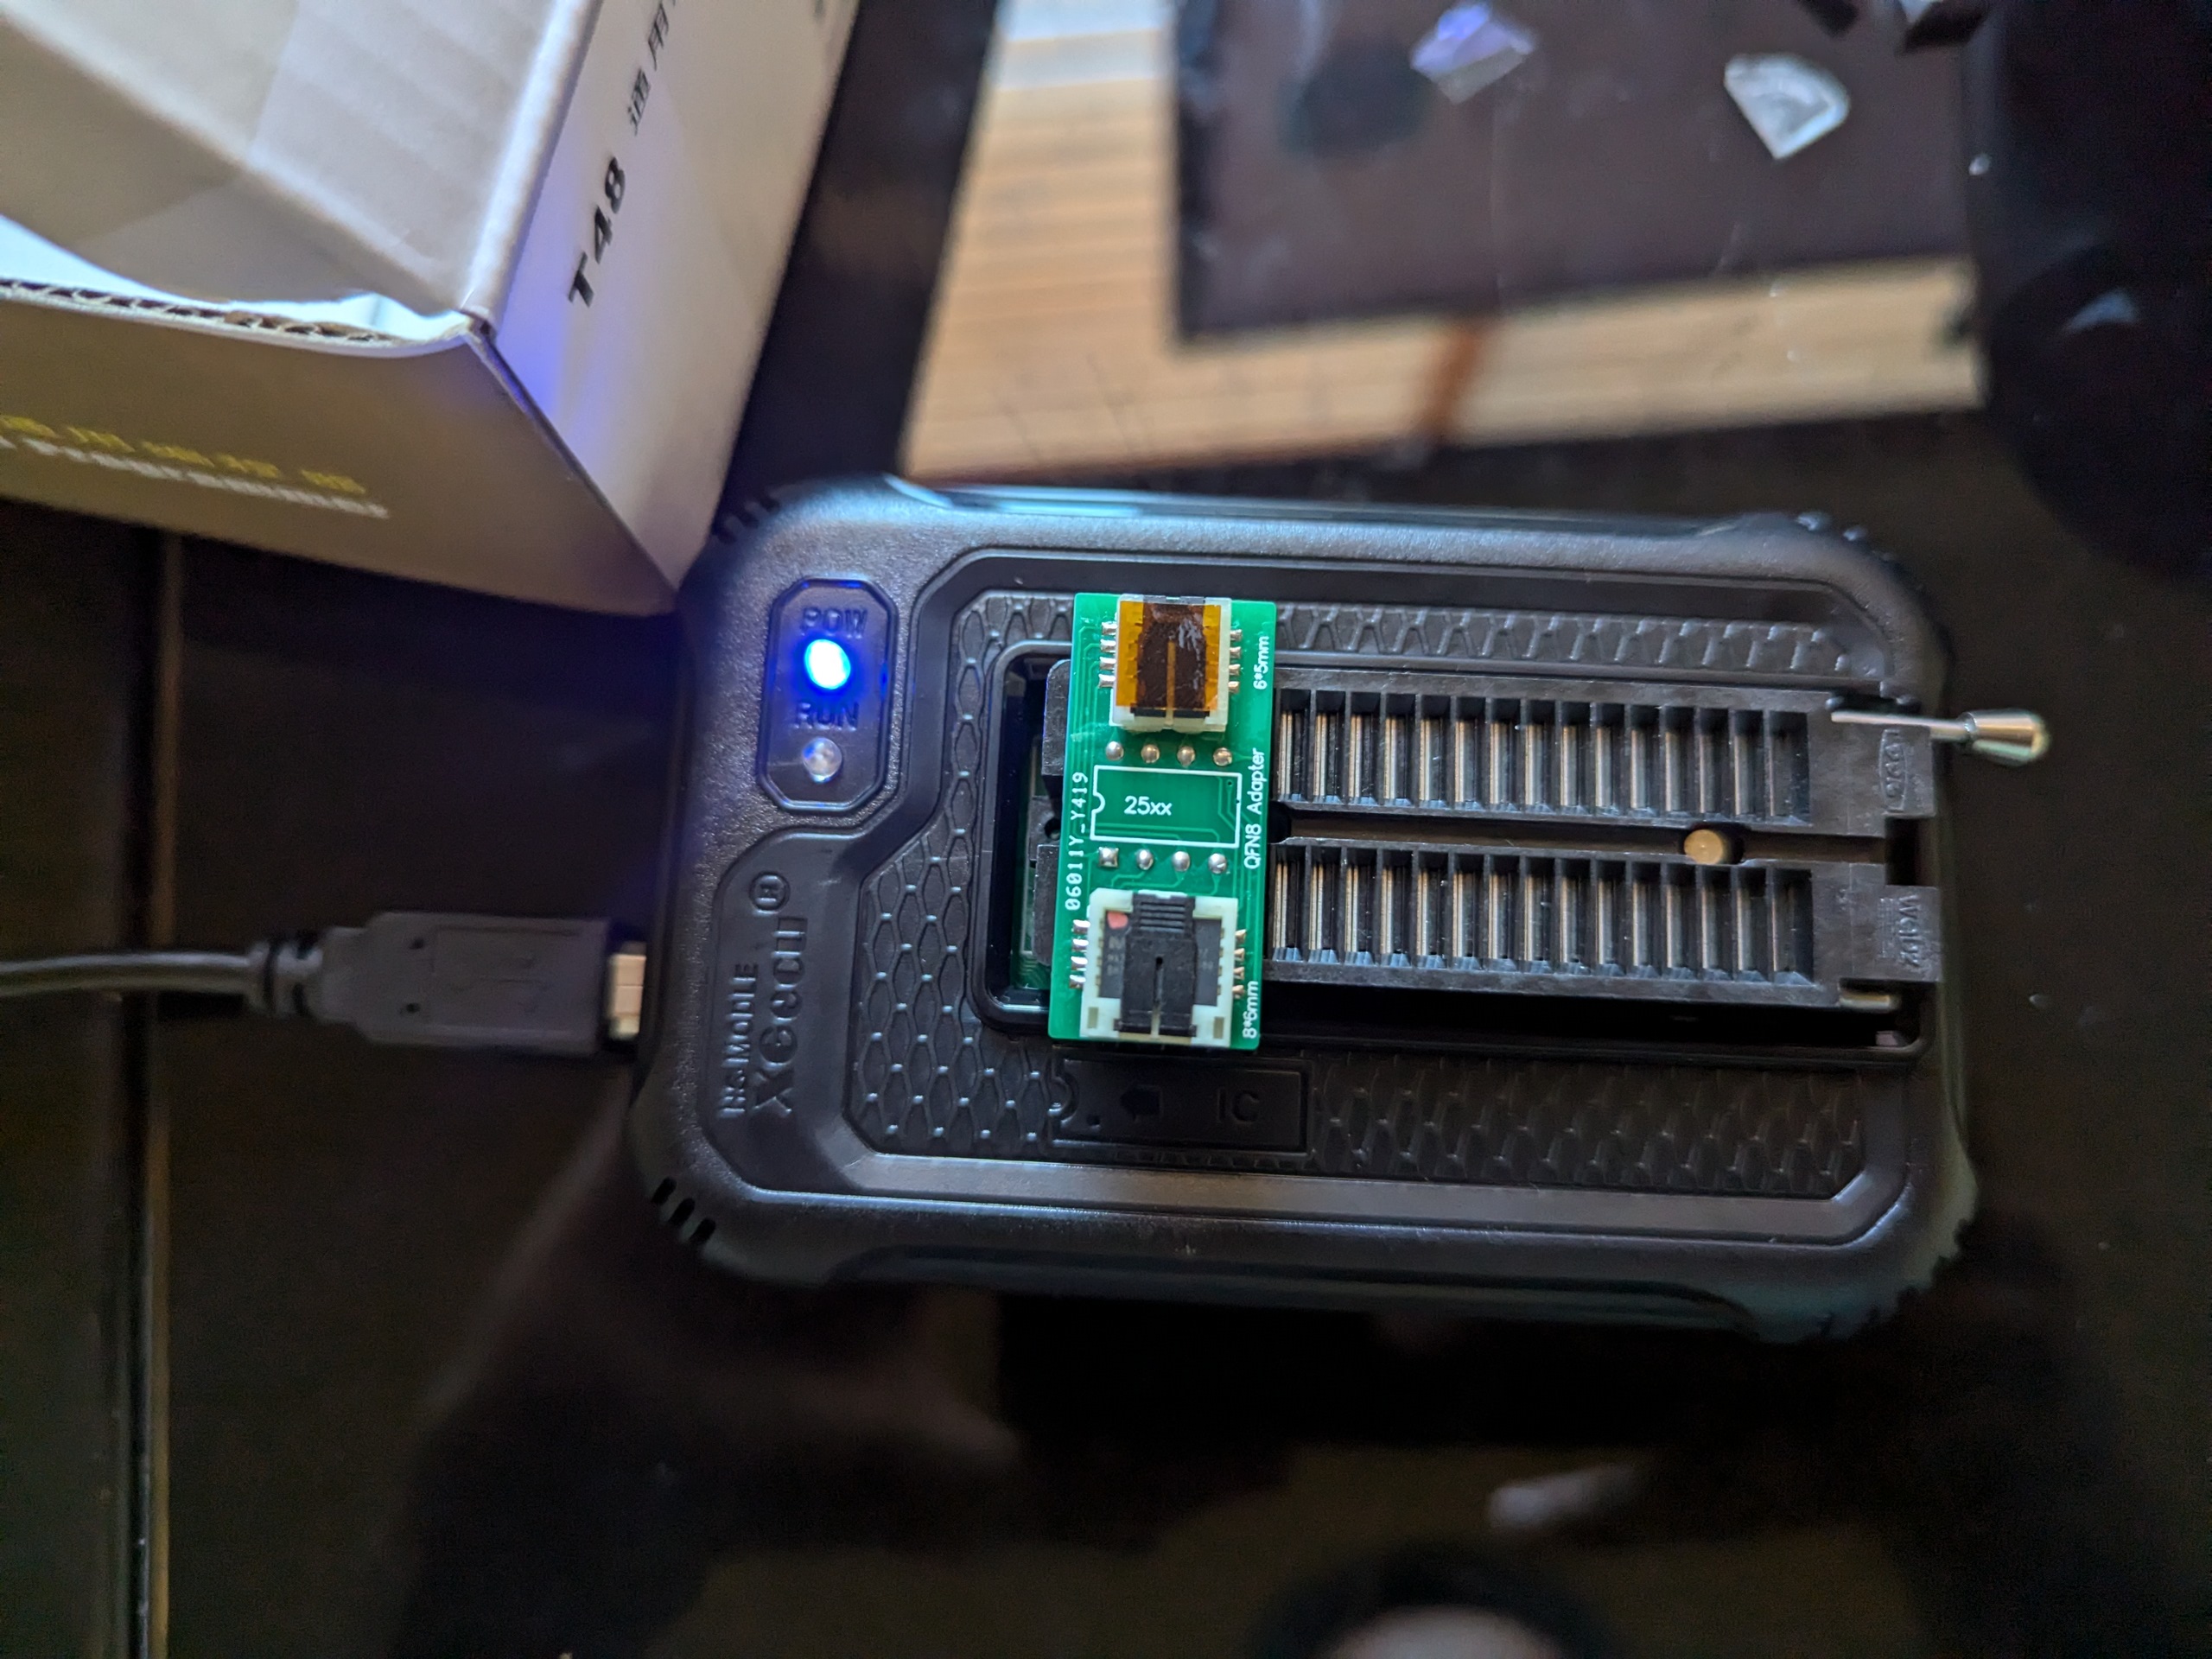
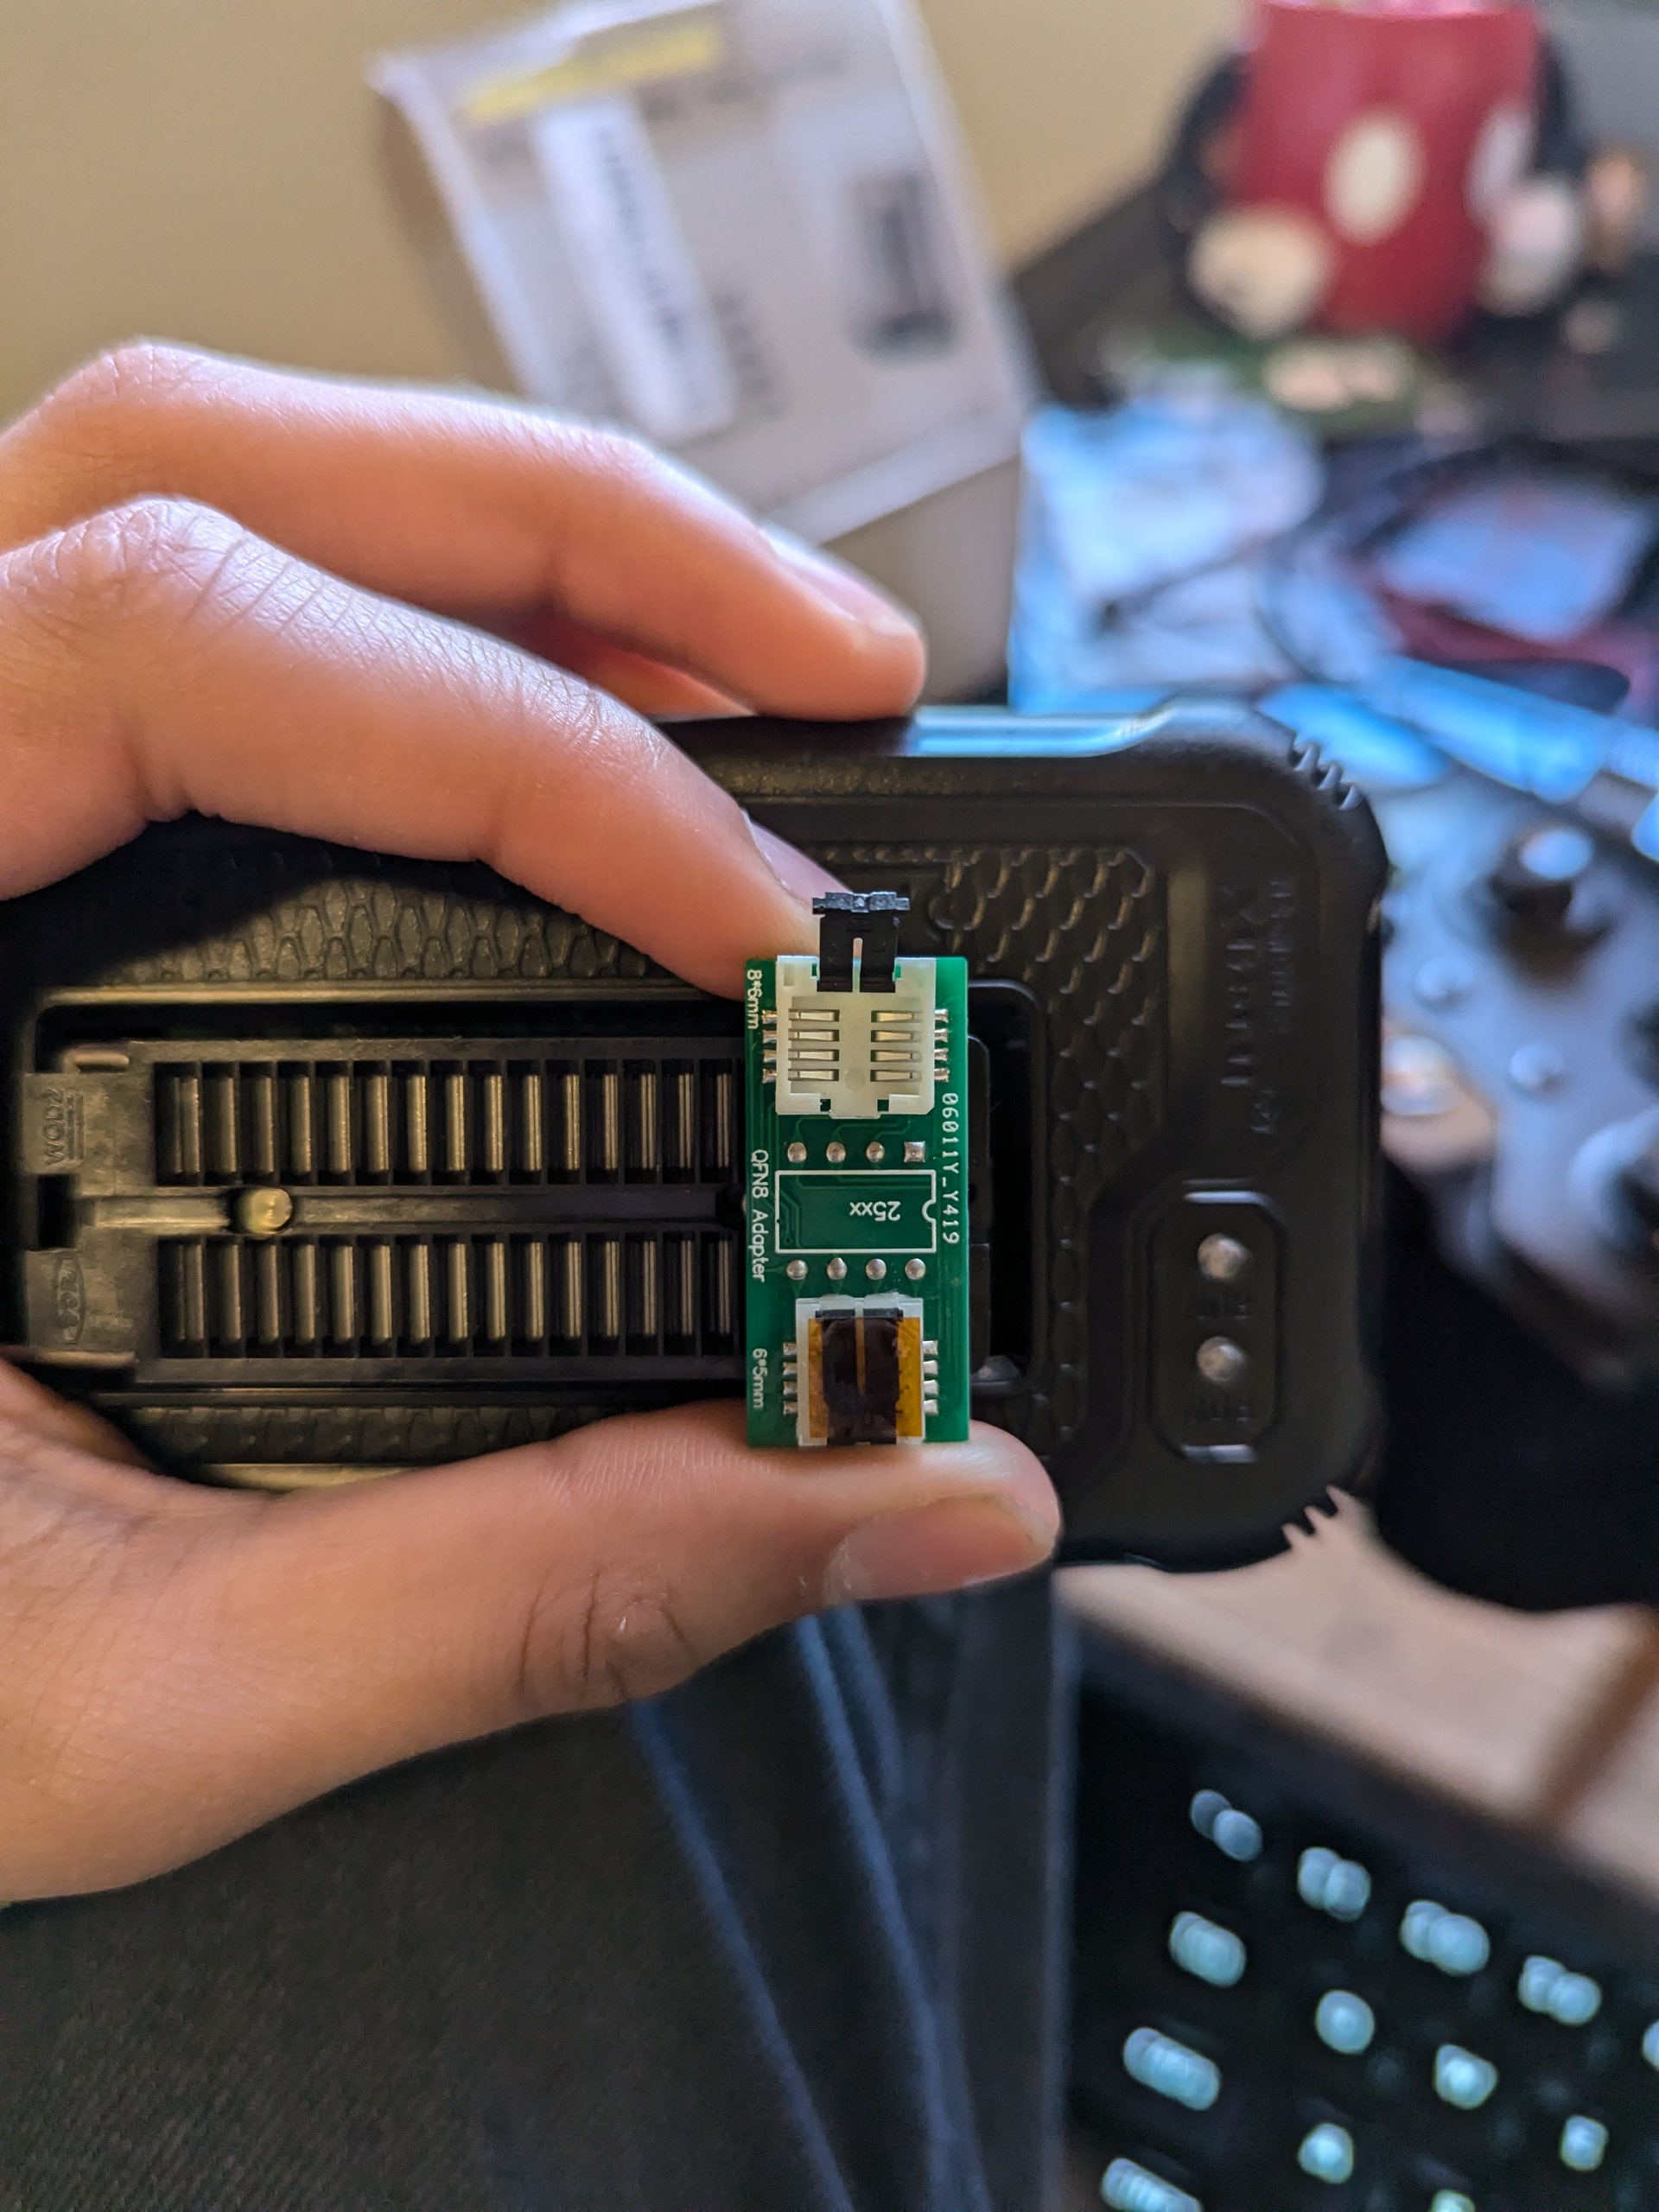
I decided to stick with that plan and continue. I started by heating up my hot air gun, keeping it at 60% airflow rate and max temperature (around 700F). Without going for any other chips, I aimed at the BIOS chip until I could pull it out with my tweezers. Unfortunately, this would be a mistake since I did not pull the right chip. However, I would still get the laptop working in one piece afterward. The next part of the repair involved buying an IC programmer (which in my case was an xGecu T48 programmer) as well as an adapter (my specific one was a WSON to SOIP8). I used a program called xGPro to extract the contents of the chip and send it to the seller. After I had sent the original binary, I was told by the seller that this was the wrong binary that I had dumped from the wrong chip.
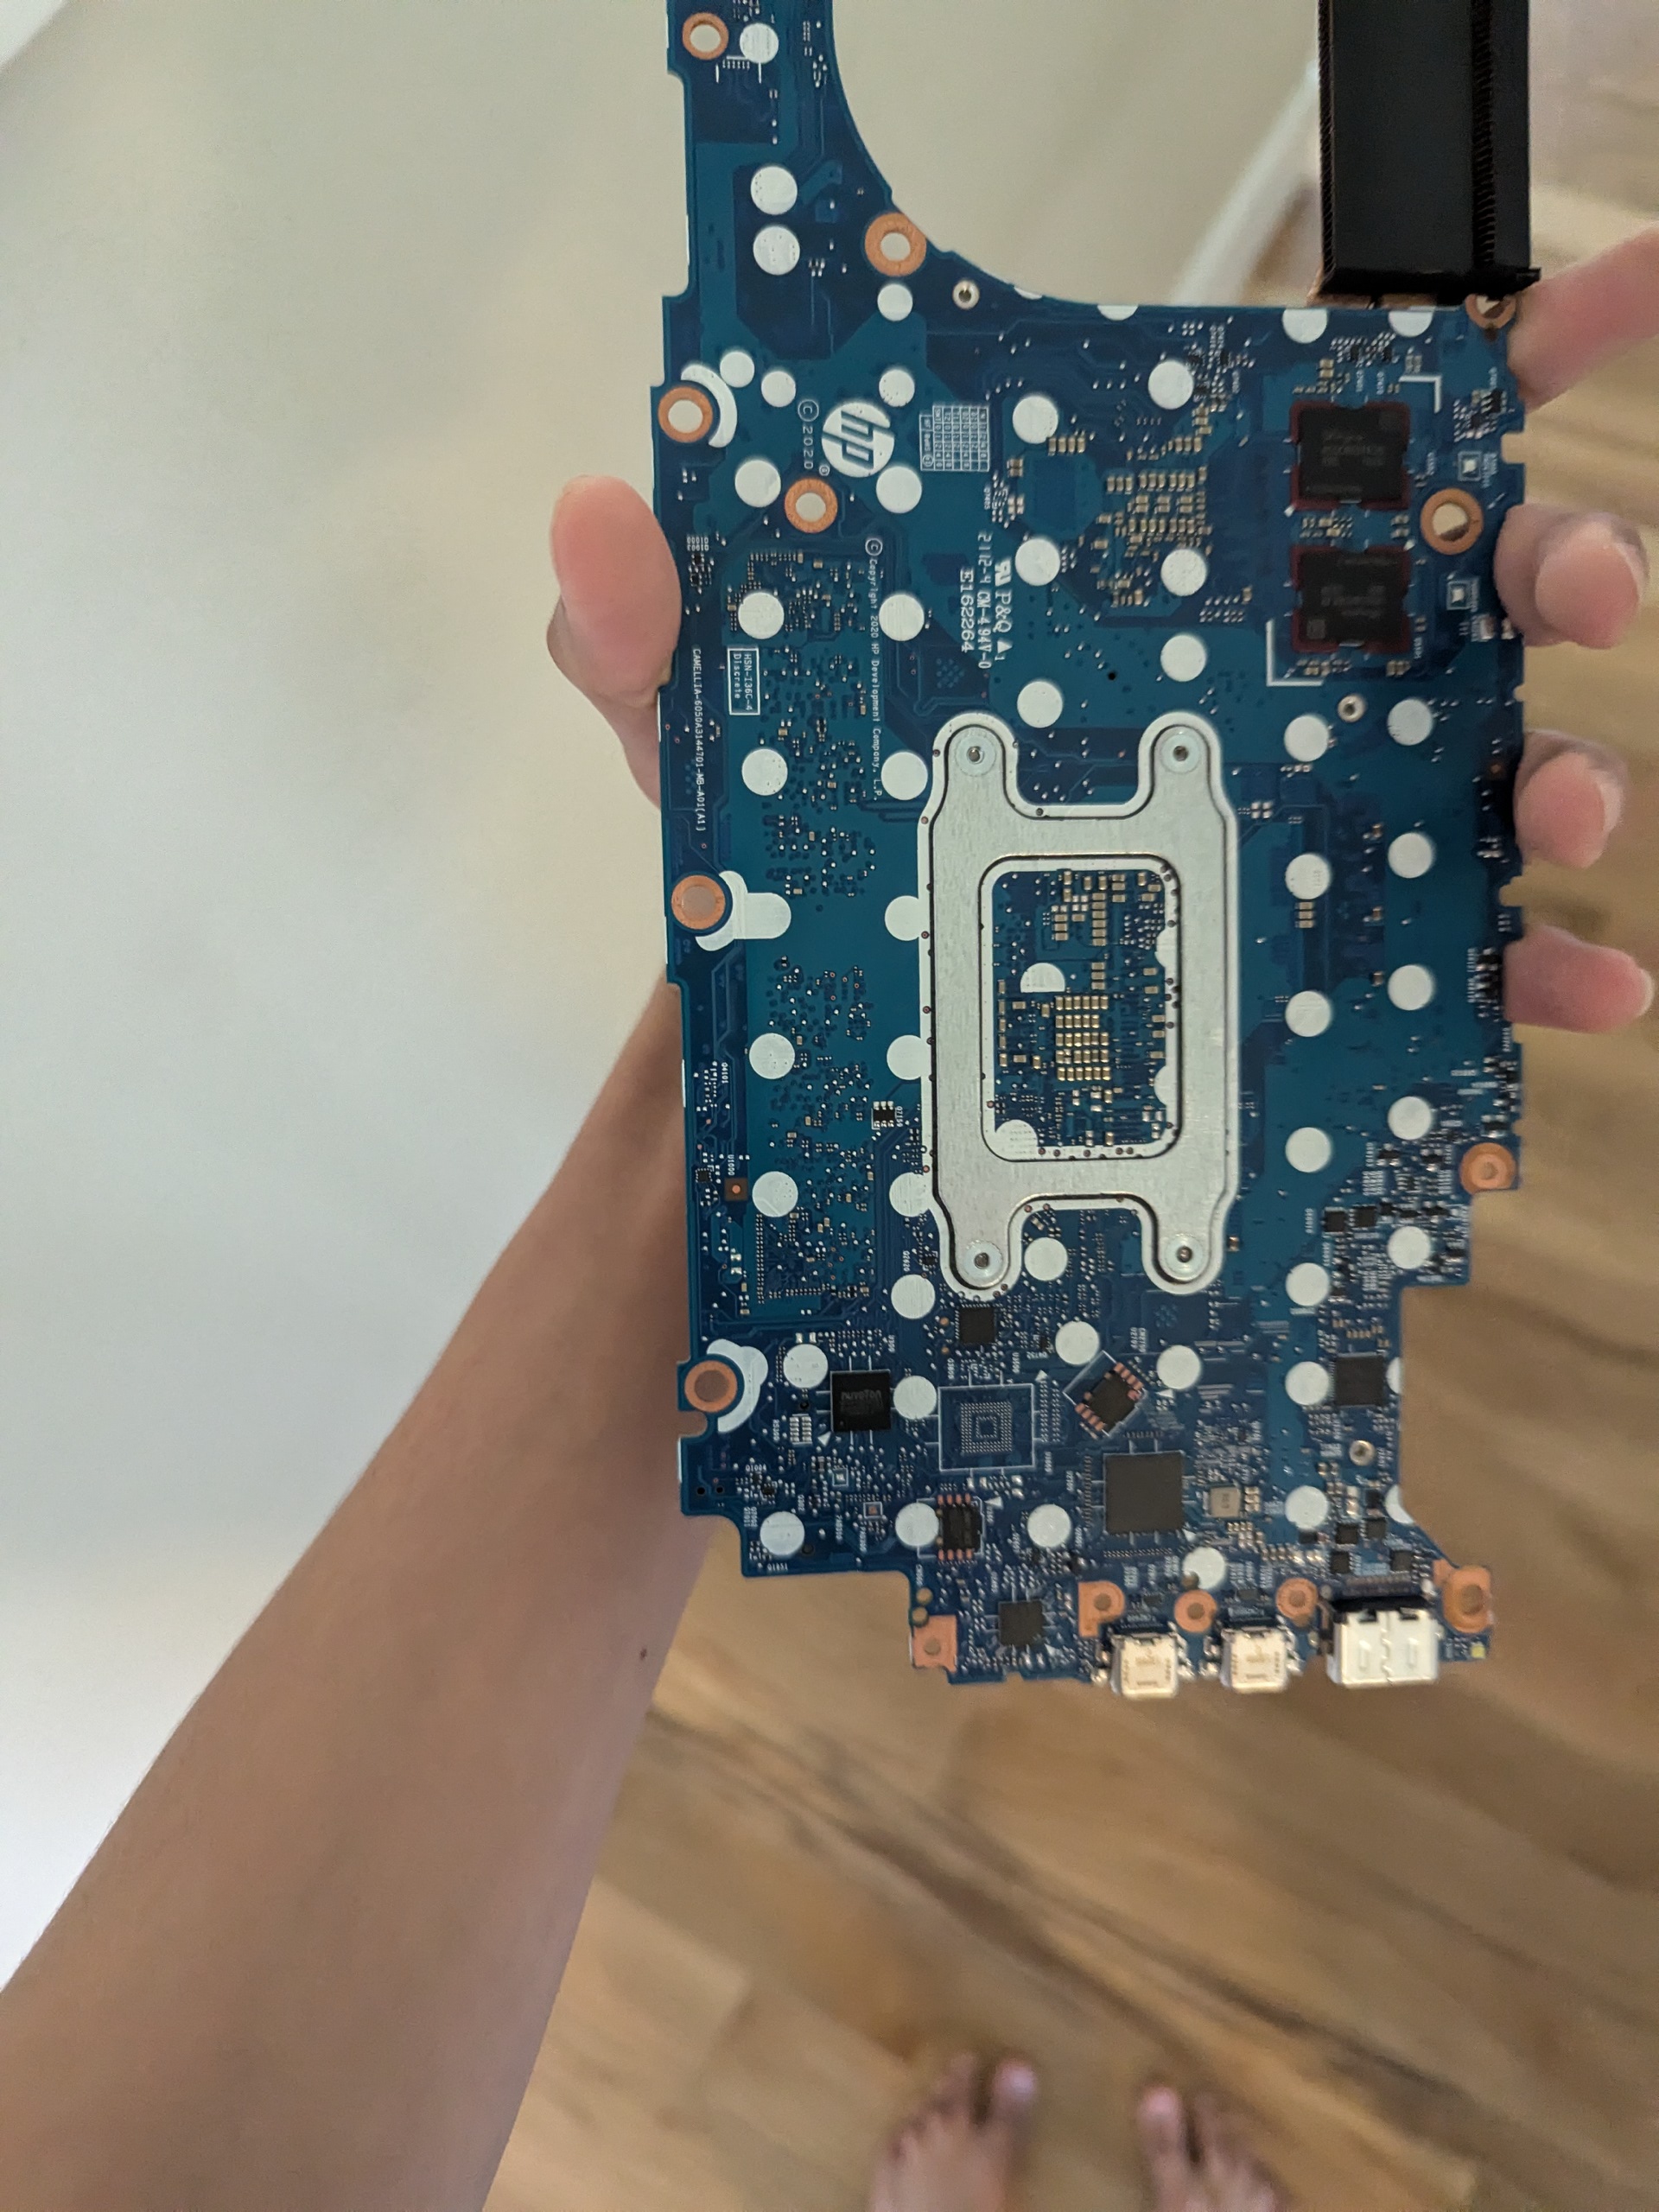
After a little back-and-forth chatting, I found out there was a similar chip I needed to remove from the back of the motherboard, meaning I would have to essentially disassemble the entire laptop. At that point, I was starting to get tired because I had already put a lot of effort into getting everything to work. I decided to continue since I was still far into the repair. With a lot of stress and precision, I successfully disassembled the laptop and removed the motherboard from the chassis. Directly after that, I used the hot air gun to remove the required chip and dumped the binary.
After nearly 2 hours of work, I received the binary and flashed it to the chip. I resoldered both chips back onto the motherboard in their respective places and made sure they were secure. After that, I reassembled the laptop and turned it on. When it booted up, there was no power-on password! I was so relieved that I didn’t break anything, and even more happy that I got the laptop working!
If you do try a repair like this, there are 2 things you need to watch out for. First up, make sure your soldering skills are in check. As an amateur at soldering, you should practice beforehand. Practicing lets you know what you should do and what you shouldn’t do. Second tip, do your research. My mistake was not buying an adapter for the chip I originally unsoldered. If I hadn’t bought a specific adapter with 2 sockets for those chips, I would have to go through a separate process of finding out which adapter I need.
I learned a lot from this repair and will help in the future if I do another like this.


