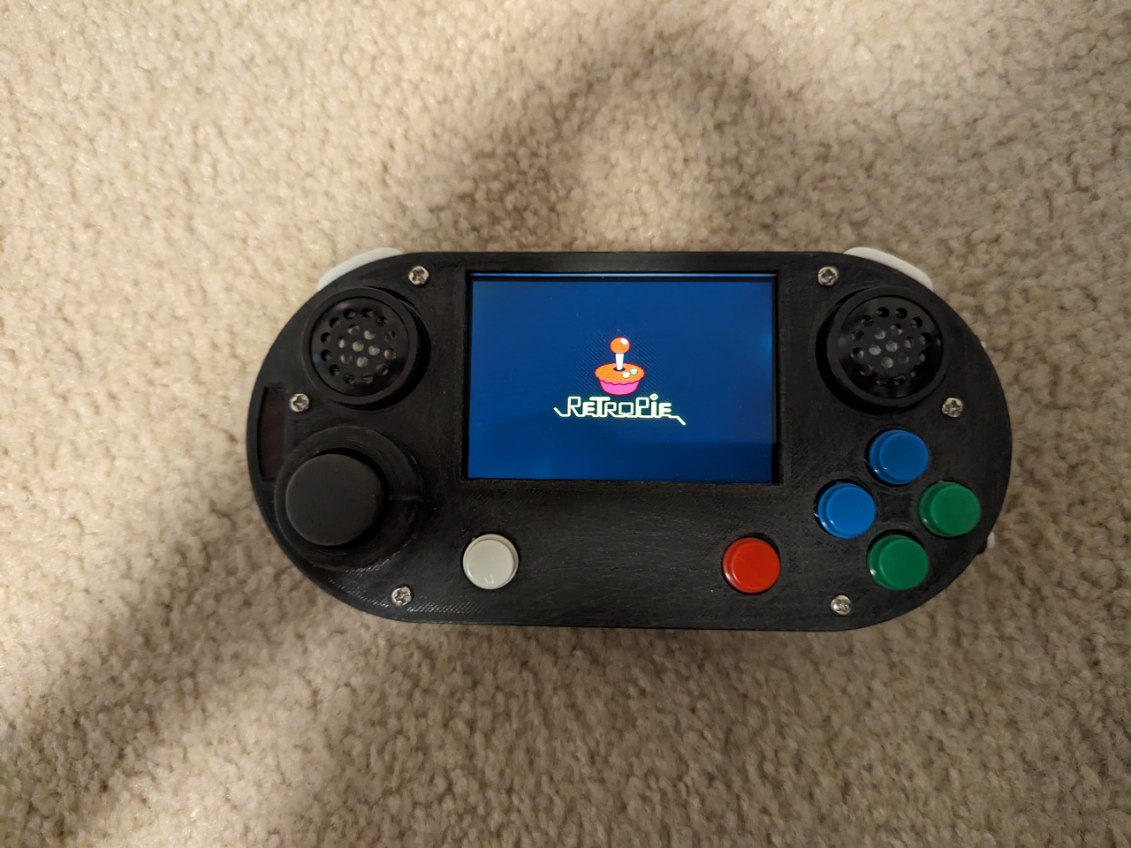
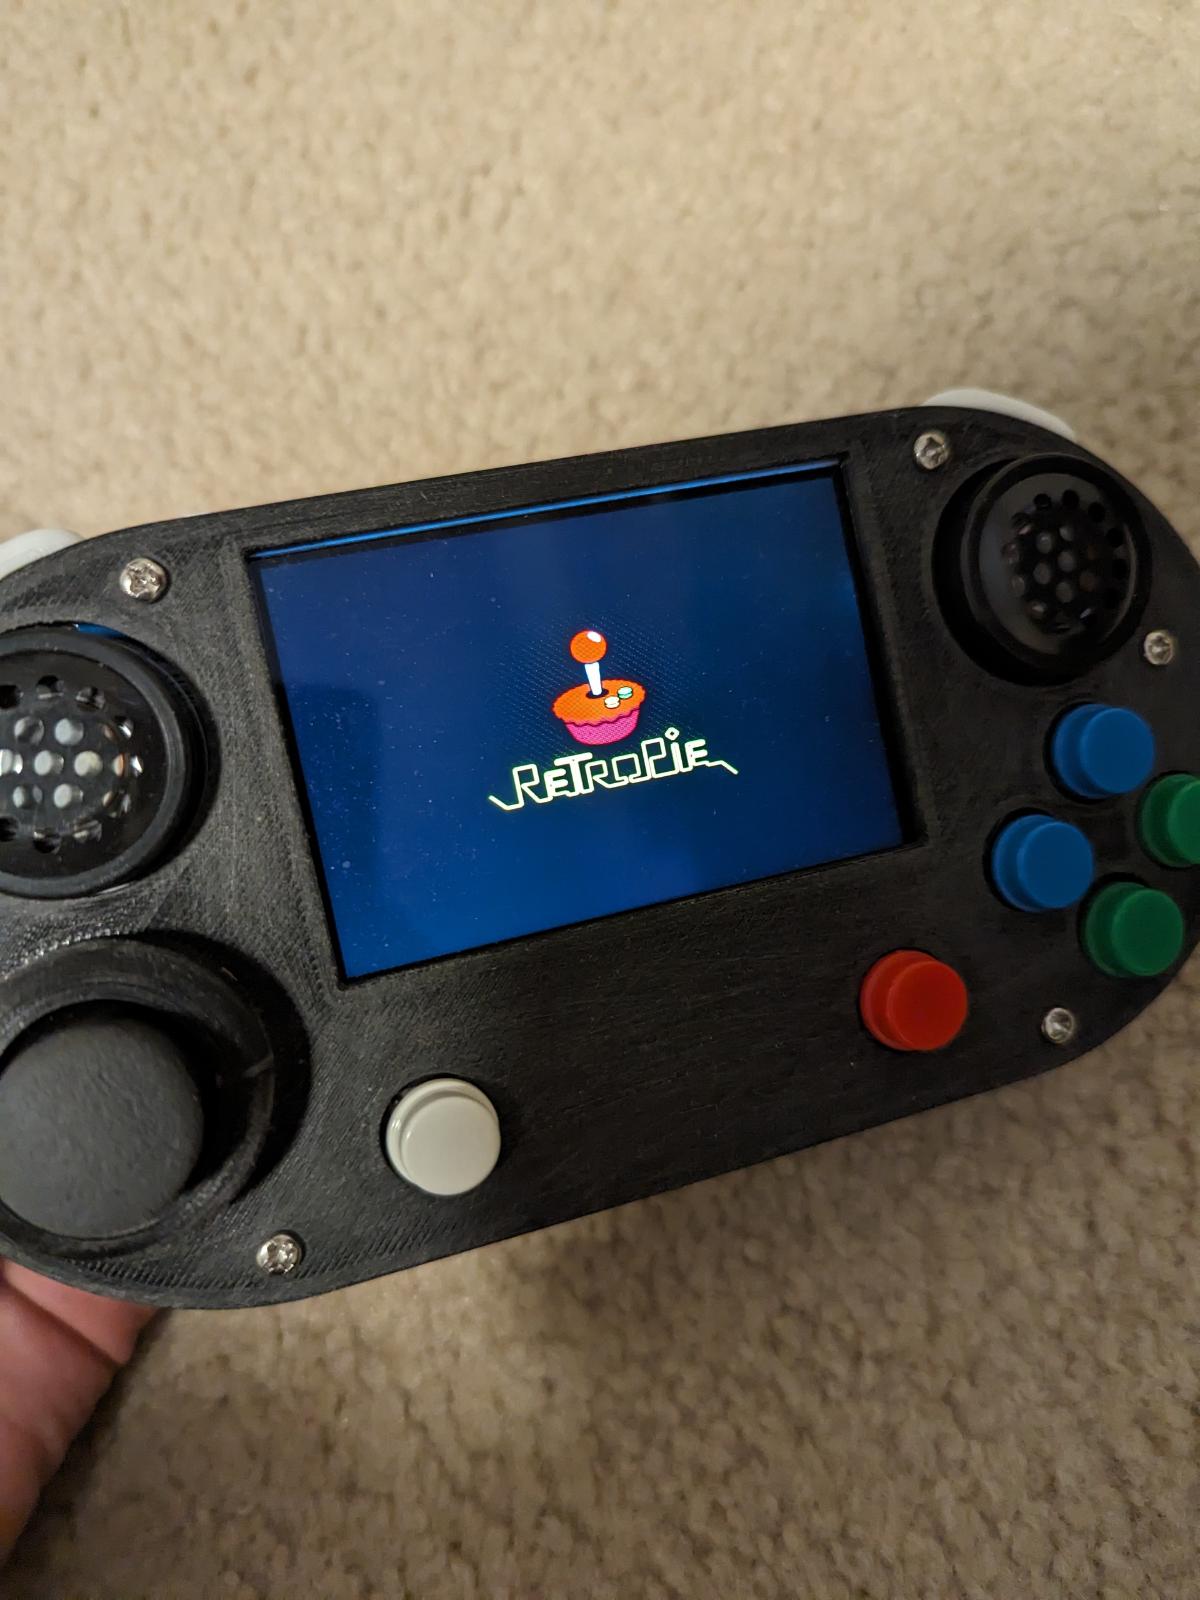
The Raspberry Pi is one of the most versatile computers in all of existence (in my opinion). This computer comes in all different shapes and sizes. From the Raspberry Pi Pico to the Raspberry Pi 5, there is a computer for nearly every purpose. In this article, I am going to use a Raspberry Pi to build a gaming console.
Raspberry Pi gaming consoles are probably the most popular things you can build. There are plenty of different styles and forms to build one, but the least prominent type of game console is a handheld. The reason for this is that normally, the Raspberry Pi isn’t meant for portable use. It is meant to be used with a constant power supply. People have found ways to run a Raspberry Pi off a battery, and that is exactly what I am going to be doing in this article. The brain of the operation is the Raspberry Pi 4B 8GB. At the time of building this console, this was the most powerful Raspberry Pi money could buy. However, only a few weeks later, the Raspberry Pi 5 was announced (which was inconvenient). The system I used was Waveshare’s Game HAT, an all-in-one multifunctional board with a built-in screen, space for an 18650 rechargeable battery, and buttons. All I had to do was assemble everything.
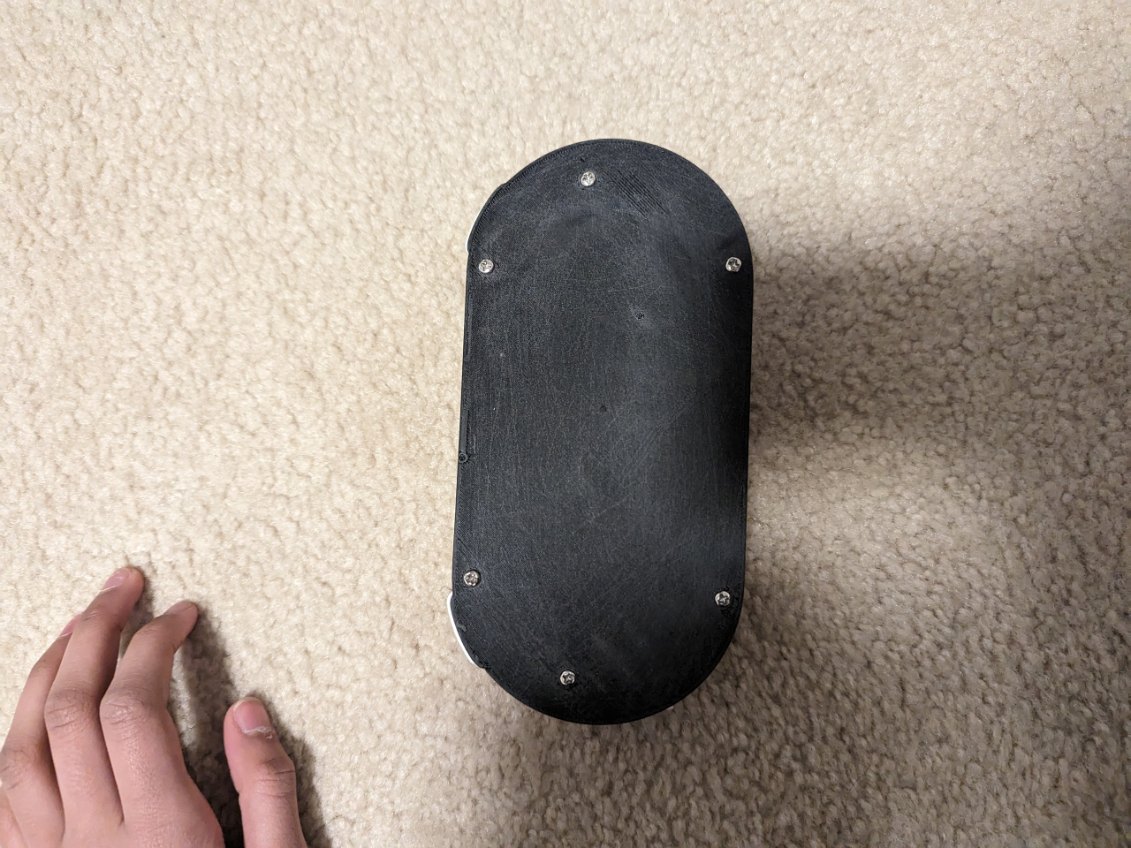
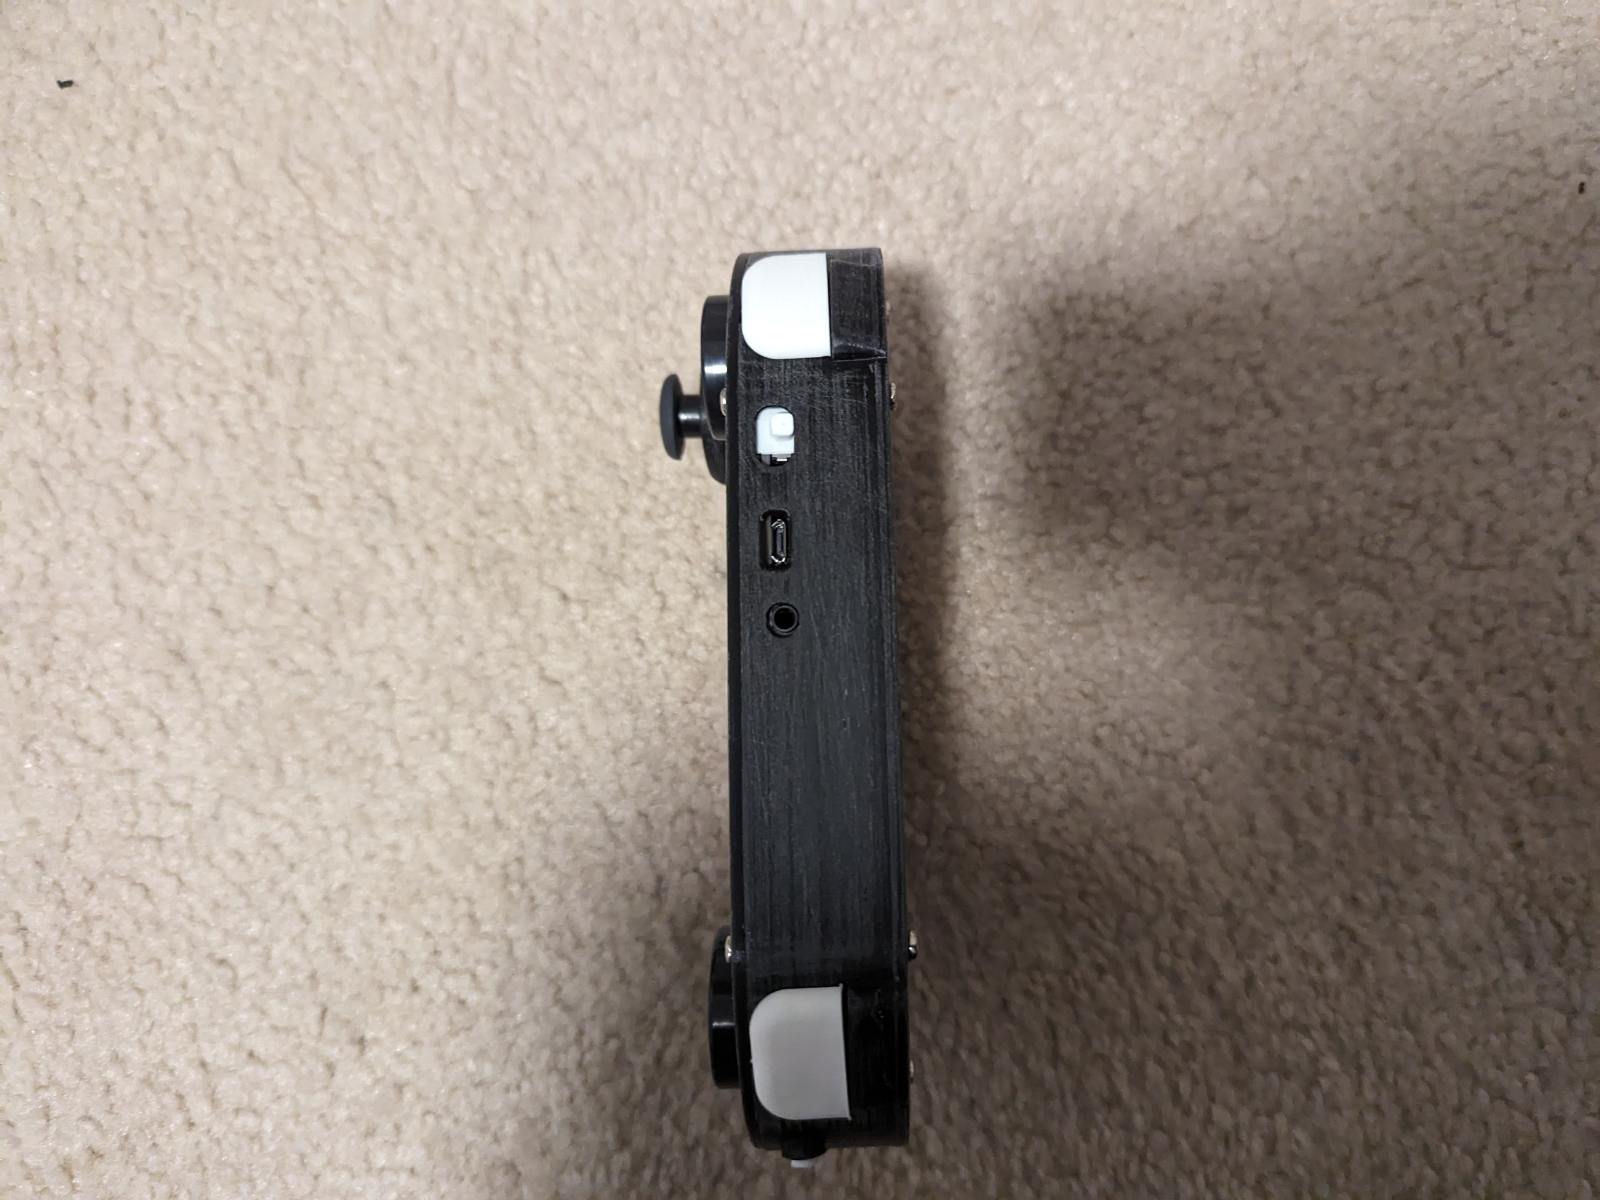
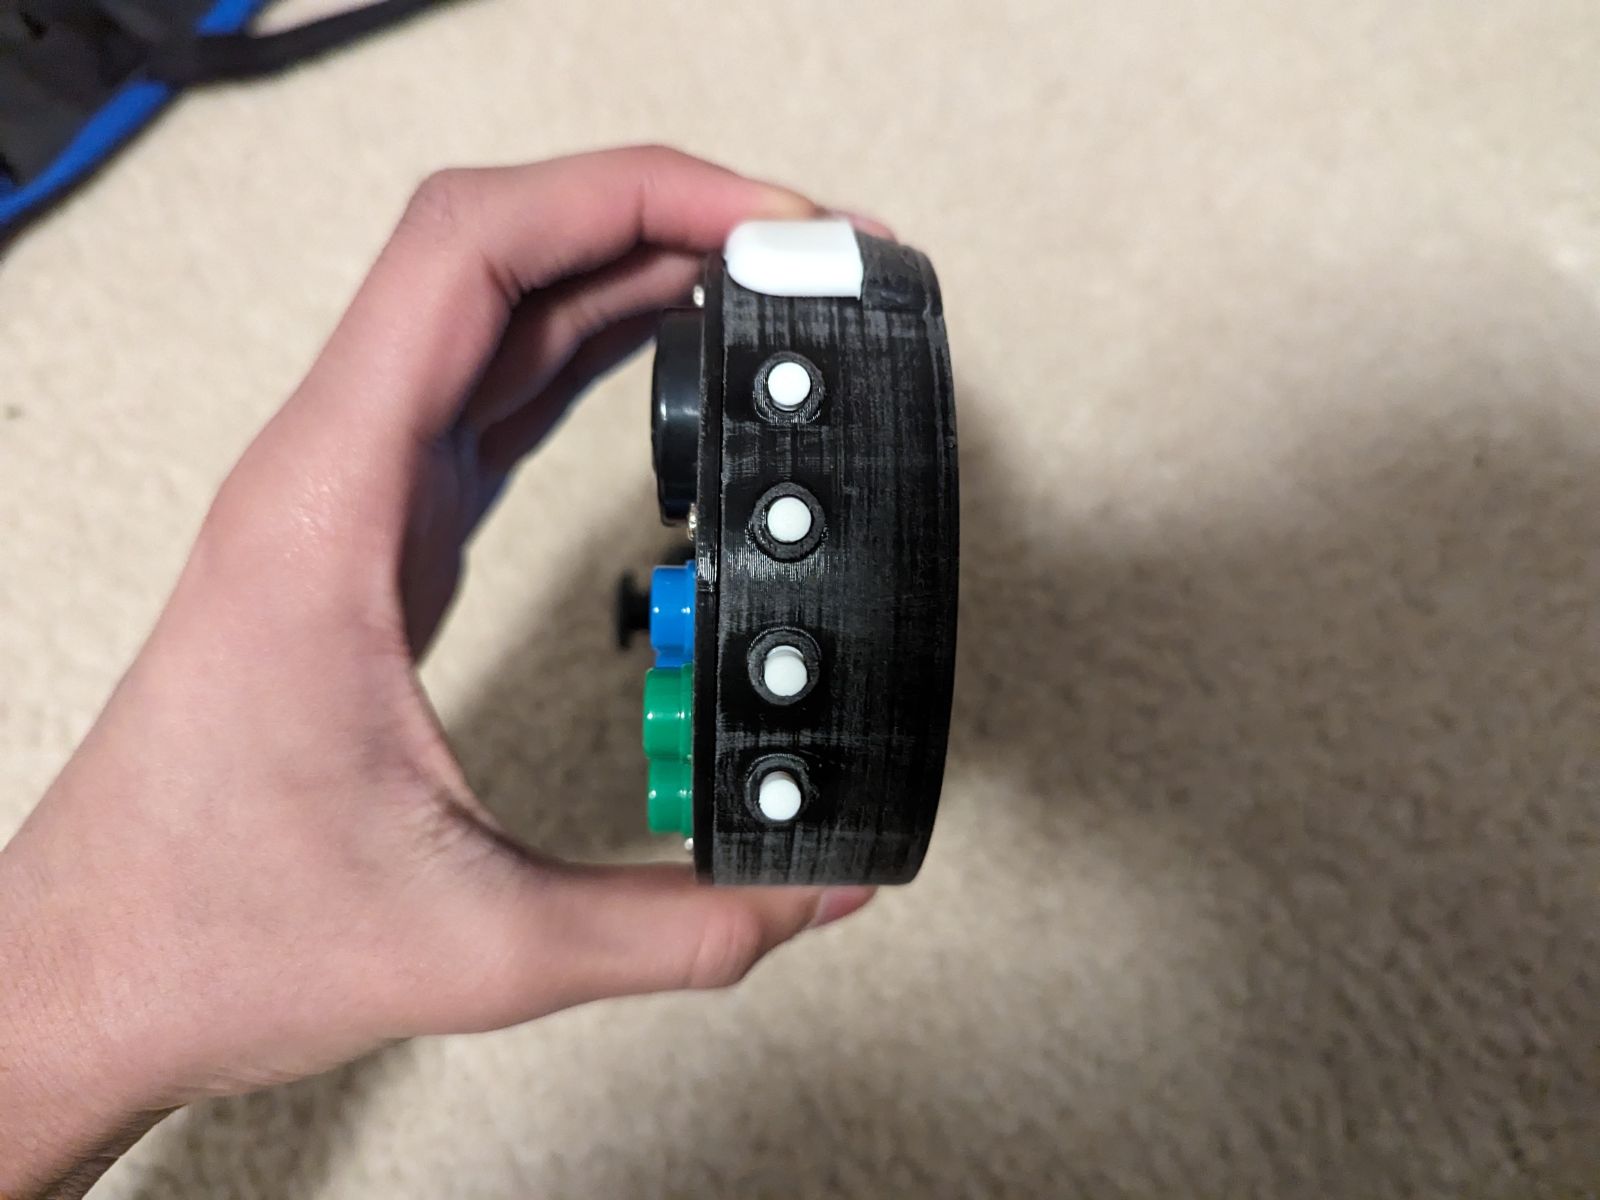
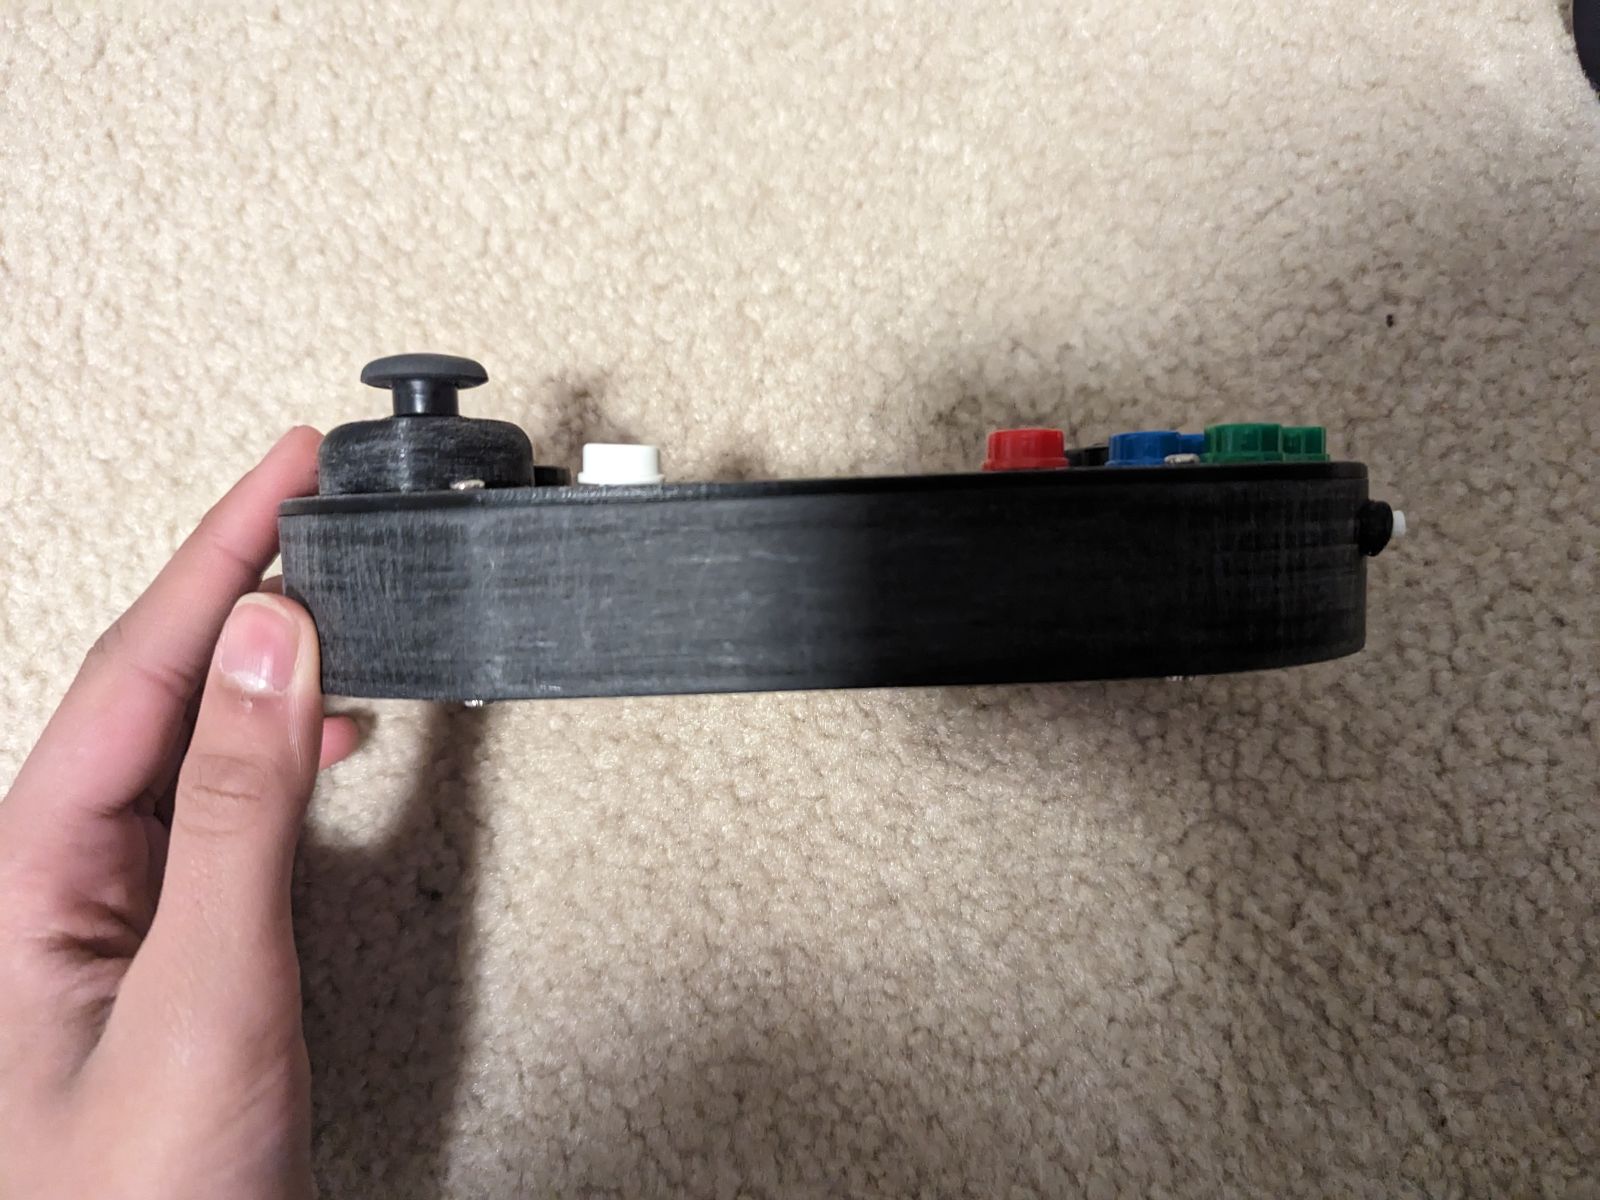
However, after assembling the Game HAT, I wasn’t satisfied with the case, because it only covered the top and the bottoms, but not the sides. So, I went to Thingiverse, where I found a basic case that not only covered the side with had a built-in switch for the power button. Printing the case was not as simple as uploading the file to the 3d printer and coming out with a new case. I had multiple problems with my printer, as I hadn’t used it in some time. I found that the SD card was failing, so I had to replace that with a new one. Not only that, but the filament was not sticking to the bed, so with some trial and error, I got it to work. Finally, after around 3 days of work, I got it printed. However, I wasn’t out of the clear yet. I had to print the top part 2 times and the bottom part 3 times. This was because either the figure was warped, or I didn’t print the right part.
The software was the last part of the equation. There were many options, but I ended up choosing RetroPie because that had the simplest setup procedure. There were also options for RecalBox, which even included some games.
So, in conclusion, using the Waveshare Game was fun. I could play a lot of different games, ranging from an Atari to an N64. The graphics were good, and I was getting a constant 60fps. All of this was happening with decent battery life, and charging was also relatively fast. I have even installed Android on it since it is a Raspberry Pi. However, there were a lot of compatibility issues which ultimately made it not a good choice for me. In the future, I could consider building a 2-joystick game console with Android on it, almost like a Logitech G Cloud or a Steam Deck. That’s all for this article, and I will see you later.
