Toyota Sienna Android Head Unit Installation
In my opinion, Apple CarPlay and Android Auto are one of the best features/packages you can ever have in a car. But what if your car is old and doesn’t have a native option for an Apple CarPlay upgrade? Well then, enter the world of custom Android Head Units.
Before you go out and immediately start buying an Android Head Unit, there are tons of precautions while doing this. First, there isn’t any perfect head unit that exists out there for certain cars, and most of the time, they may not be reliable. In my case however, I did careful research with multiple head units and decided on which one to buy. The second reason is that some cars have features that are controlled by software, like engine modes, maintenance, and other things. And finally, like all my other projects, please understand that this is a huge undertaking with a lot of things that can go wrong. Even for me, it took 8 hours to fully complete. Even after that, the testing I needed to do used up the car’s battery and had to be jumpstarted again.
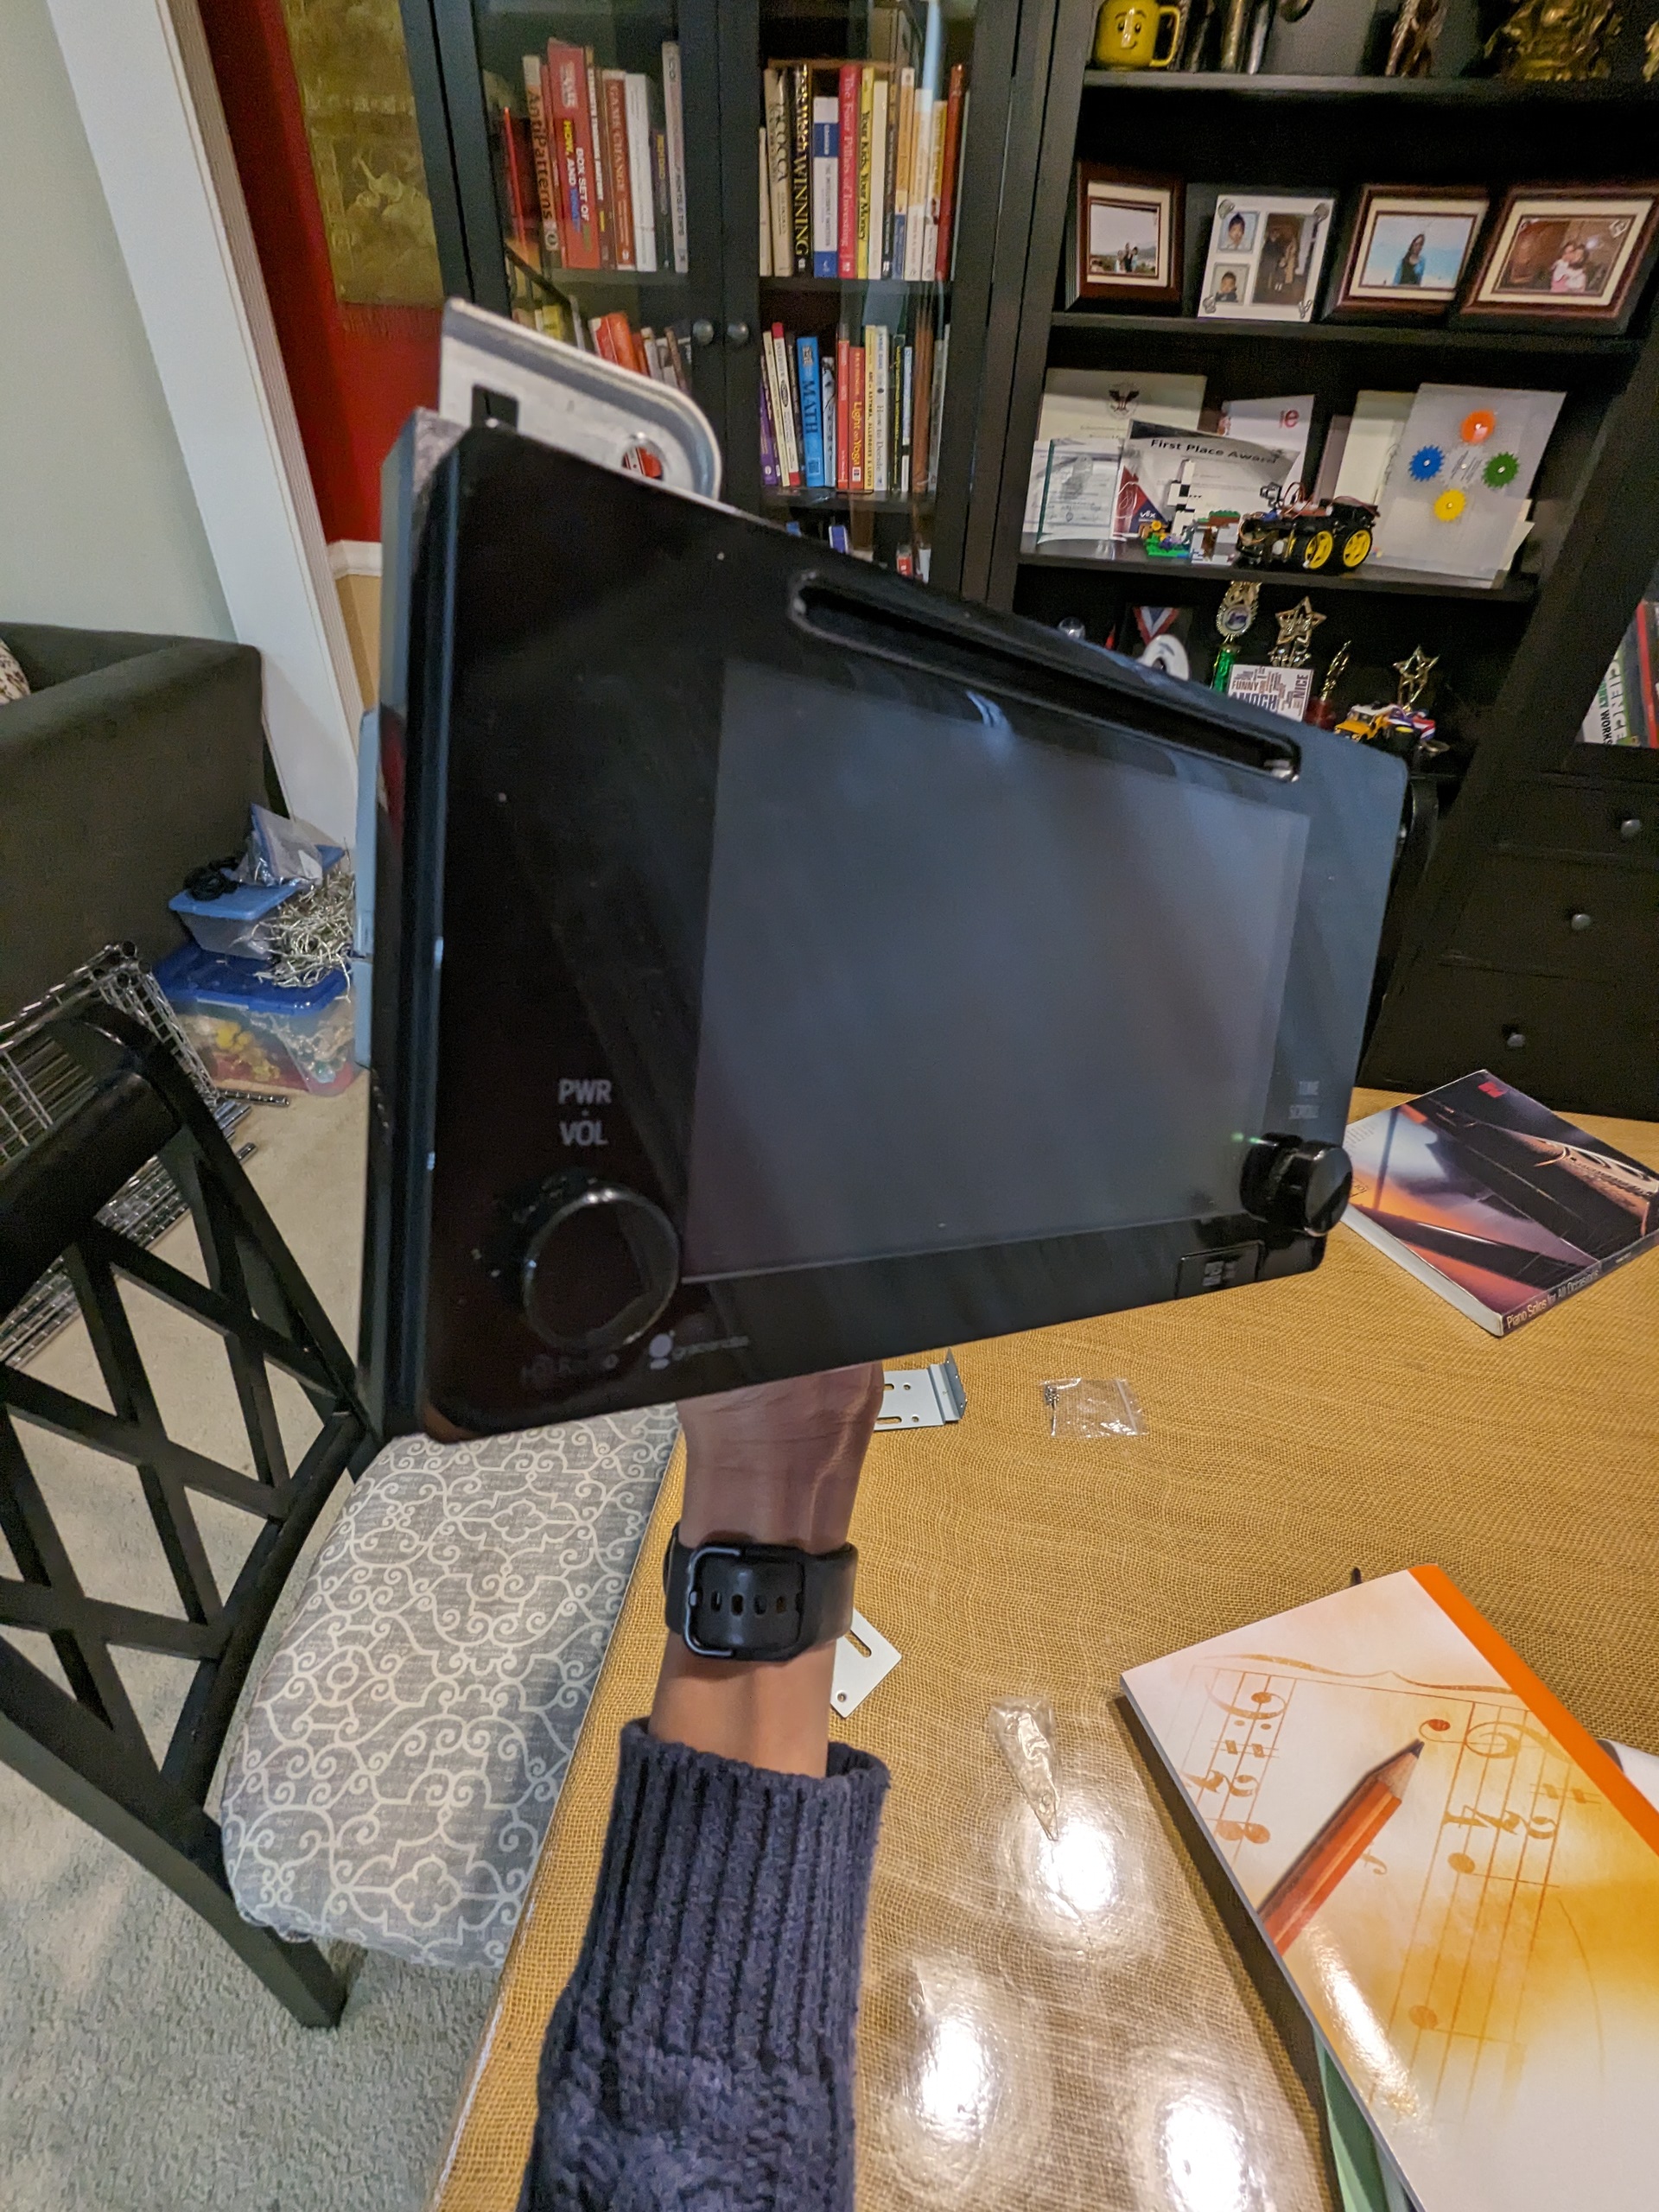
The research for this project was not as easy as expected. There were a lot of things to consider in this project, like the car’s features, trim level, and other software-controlled things. Luckily, all the car’s primary features, like rearview camera and PDC can be routed directly to the head unit that I was looking at. However, the head unit I chose was a mixed bag. On the positive side of things, the head unit had support for the rearview camera and PDC. But based on the reviews I found online, there was quite literally no brand name for the head unit. But from what others said about it, the unit worked perfectly fine, and it was pretty good. With all that information in mind, I bought the unit. After about a week, a package arrived at my doorstep.
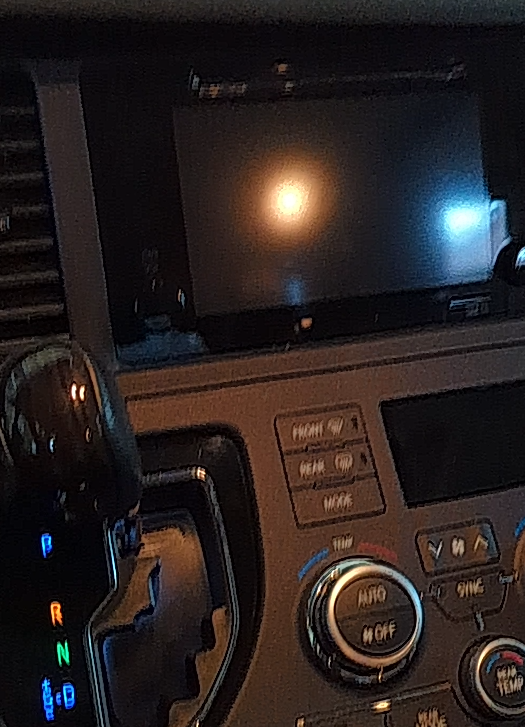
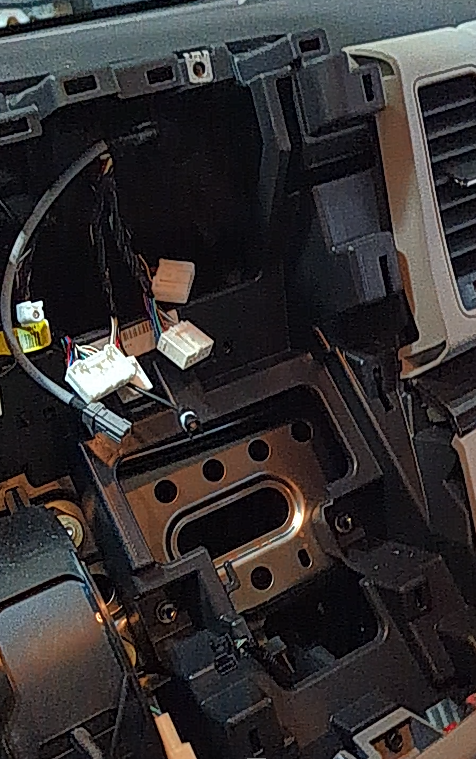
But the challenges weren’t over yet, as I had a new problem now. In the box, there were practically no instructions on how to wire the new head unit. I did contact the seller, who did provide some information about the installation, but really wasn’t of much help. With the help of YouTube, I found similar guides on how to wire the head unit. On a day where I had nothing going on, I started the process by unplugging the battery from the car and turning on the parking brake. I put the car into D using the emergency transmission switch and removed the gear shift knob. I removed all the necessary fascia pieces and unscrewed the 4 bolts. Finally, the old head unit was out, but the hardest part was yet to come.
For the record, what came after this part was completely done without any instructions, so if you are ever going to do this without instructions, I do not recommend doing that, as it can lead to some consequences, which can be really annoying to deal with later. Using a diagram provided in the box, I attempted to wire the head unit with the old cables, which was stressful. This is because if I did one wrong move, I could risk damaging the head unit. Luckily, with a little bit of time and changing some cables around, I tested out the car, and it worked!!! I was mesmerized by the fact that the head unit even turned on, and soon after, I started to test out the car. All the things I tested passed with flying colors, except for one tiny feature… and that was the rearview camera.
The Toyota Sienna is a very big car, and without a rearview camera, it is almost impossible to maneuver the car in reverse. I checked all my wiring, making sure that everything was locked in place, but the rearview camera was still not being detected. After a small break and some fresh air, I looked back at the diagram and realized a mistake I had made. There was a separate cable with a dedicated input for the camera. I immediately went back to the car and tried out my idea. I plugged the battery back in and tested the car and shifted the car into reverse. There, I saw the rearview camera, showing the driveway with the guidelines. I was extremely happy with the outcome of the head unit.
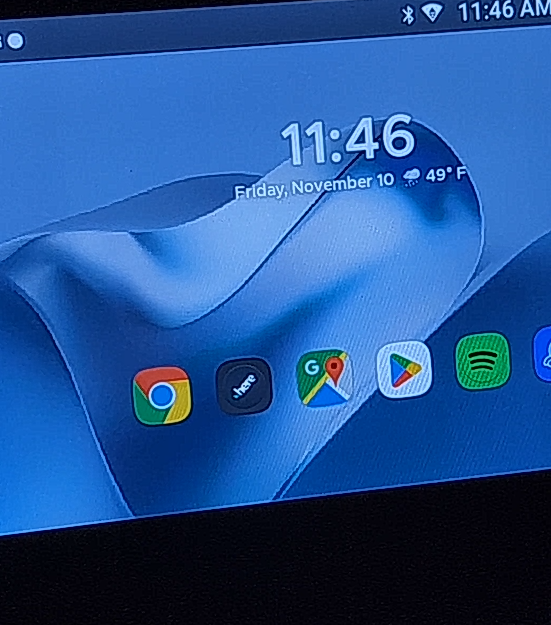
I finally reassembled the car with all its fascia pieces and tested it out. Everything seemed to work, but I realized something wasn’t right. The software in the car didn’t look very good, so with the help of a launcher, I made it look modern and more organized. I used the Lawnchair Launcher, a minimalistic launcher based of off stock android. I customized it with a few widgets, and it was done.
Unfortunately, with all that testing, I had drained the battery! The car would not start up without the power from the battery. What was even worse was that the car was parked in the garage, so it would be even harder to get it jumpstarted. Luckily, a friend gave us a portable jumpstarter, so with my fingers truly crossed, the car started up again and we recharged the battery.
In the end, this may have taken some time, but the outcome was pretty good. I got Apple CarPlay and Android Auto completely working in the car, and still retained satellite-based navigation. Although the results were good, I would not recommend doing this if you don’t have a lot of experience.


